How to install WordPress on local computer
Step 1: Download WordPress from link
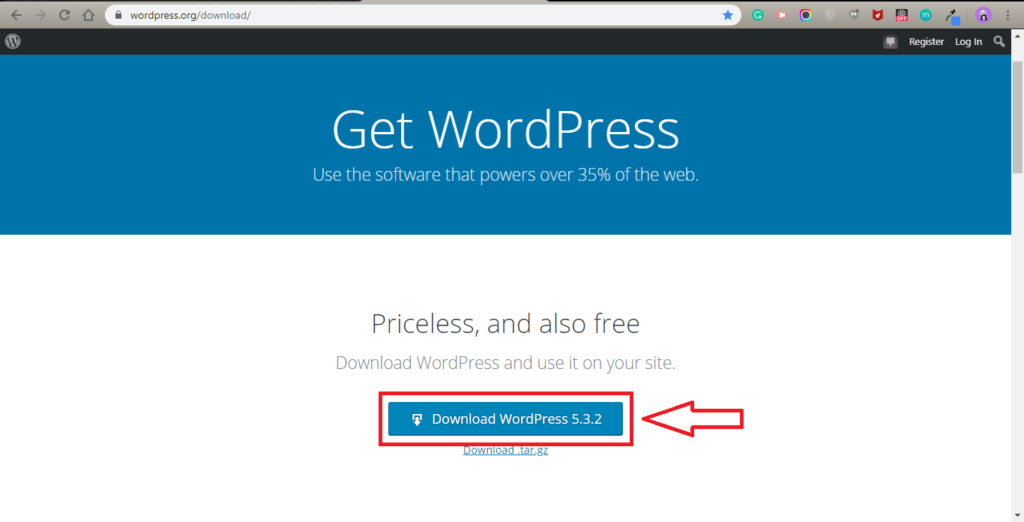
Note: In my case latest version is 5.3.2 but it maybe different in your case while you are installing WordPress.
Step 2: Copy Zip file to htdocs folder(if you are using xampp) or to www folder(if you are using wamp).
Step 3: Extract files from Zip file.
Step 4: Open Xampp and start Apache server and MySQL.

Note: If you are using wamp then start apache and MYSQL according to that.
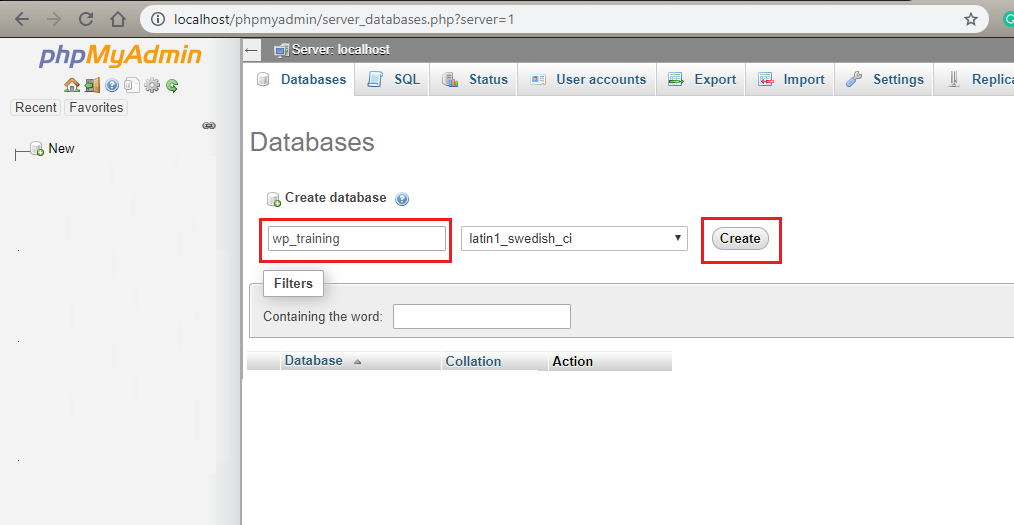
Step 4: Go to PHPMyAdmin in the localhost using a browser.
Step 5: Create a new database (Write the name of Database and Click on Create button).
Step 6: Go where you extracted the WordPress ZIP file.
Step 7: Move wordpress Folder from wordpress-5.3.2 folder and rename wordpress folder with appropriate name. (I am giving name trainingblog)

Note: Currently Latest version is 5.3.2 but in your case version may be different.
Step 8: open renamed folder in my case named with trainingblog and read readme.html file.

Note: Readme.html guide you for how to install WordPress.
Step 9: Next run wp-admin/install.php in my case localhost/training/trainingblog/wp-admin/install.php
on the browser and make sure before running install.php apache and MySQL is running.
Note: When you run install.php it will start the installation from setup-config.php file.
Step 10: Click your language in which you wanted to install WordPress and Select on the Continue button.

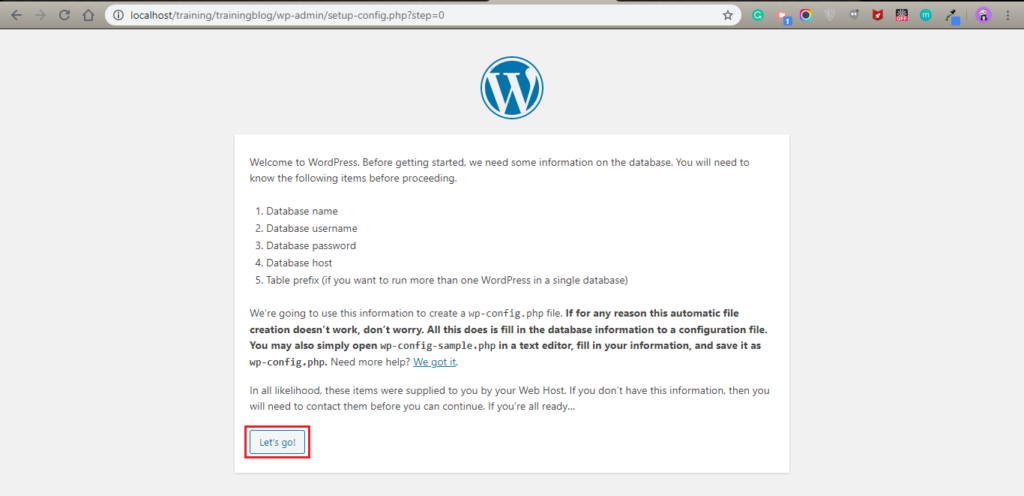
Step 11: In the next page Read the instruction and click on let’s go! button.
Step 12: On the next page fill some information such as Database Name, User Name, Password, Database Host and Table Prefix.

Note: Give database name which database we created earlier, give your user name most of the case it is “root” If you already set any password then only give a password or leave it blank, database host is localhost and if want to set Table prefix set it here.
Step 13: Click on Run the installation button as shown in the below screenshot.

Step 14: Fill the information on the next page such as Site Title, User name, Password, email and click on install WordPress button as shown in the below screenshot.

Step 15: If you get a Success message as shown in the below screenshot then blog is installation is completed.

Note: If you want to check that blog is installed or not then click on the login button it will redirect you to the login page and try to login with username and password.
After login, if you see a dashboard like below then the blog is installed.

If you have any questions or queries please comment down below in the comment section.
Thanks for reading this blog and stay tuned for more blogs.
WebXIntegrators.